Prerequisites
Before installing the React Native UI Kit, create a CometChat app in the CometChat Dashboard and keep these values handy:- App ID
- Region
- Auth Key (for quick starts) or Auth Token (for production)
- Node.js with npm or Yarn.
- React Native CLI (Xcode + Android Studio) or Expo CLI.
- A device or simulator/emulator.
- Android builds need camera and mic permissions for calling.
Register & Set Up CometChat
- Sign up or sign in at the CometChat Dashboard.
- Create a new app and open Application → Credentials.
- Copy your App ID, Region, and Auth Key/Auth Token.
Each CometChat application can power multiple client apps. Users on the same CometChat app can chat across platforms (web, Android, iOS, React Native).
Built With
| Technology | Description |
|---|---|
| Node.js | JavaScript runtime |
| React Native | Cross-platform mobile framework |
| CometChat React Native UI Kit | Prebuilt chat UI components |
Getting Started
Step 1: Create a React Native project
- React Native CLI
- Expo (quickest)
Step 2: Install dependencies
Install the UI Kit (includes the Chat SDK):- npm
- yarn
For tab-based navigation (see Tab Based Chat) also add React Navigation:
Step 3: Initialize the UI Kit (App.tsx)
CallCometChatUIKit.init once on app start. On Android, request camera/mic permissions before initializing if you plan to use calling.
For production, prefer Auth Tokens over Auth Keys for secure authentication. See
loginUsingAuthToken.Step 4: Log in a user
Use the UID of a user you created in the dashboard or via API/SDK. Log the user in after initialization.Step 5: Pick your chat experience
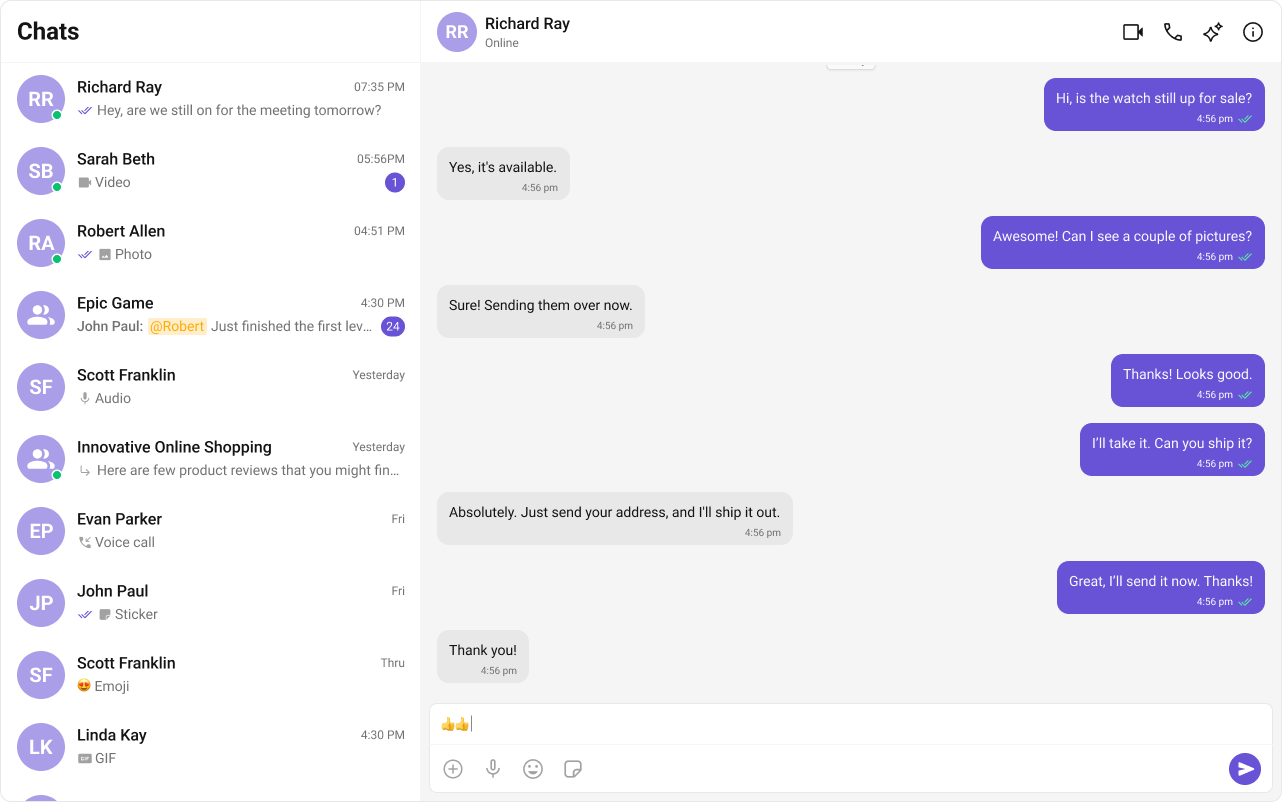
Choose the layout that fits your UX. Each option is prebuilt and mobile-ready.1️⃣ Conversation List + Message View
Best for: WhatsApp/Slack-style layouts that switch between multiple chats. Features:- Two-panel flow – list on one side, chat on the other; auto-hides list on mobile when a chat opens.
- One-to-one & group switching – tap a row to open that user or group.
- Real-time updates – live presence, typing indicators, and message sync.
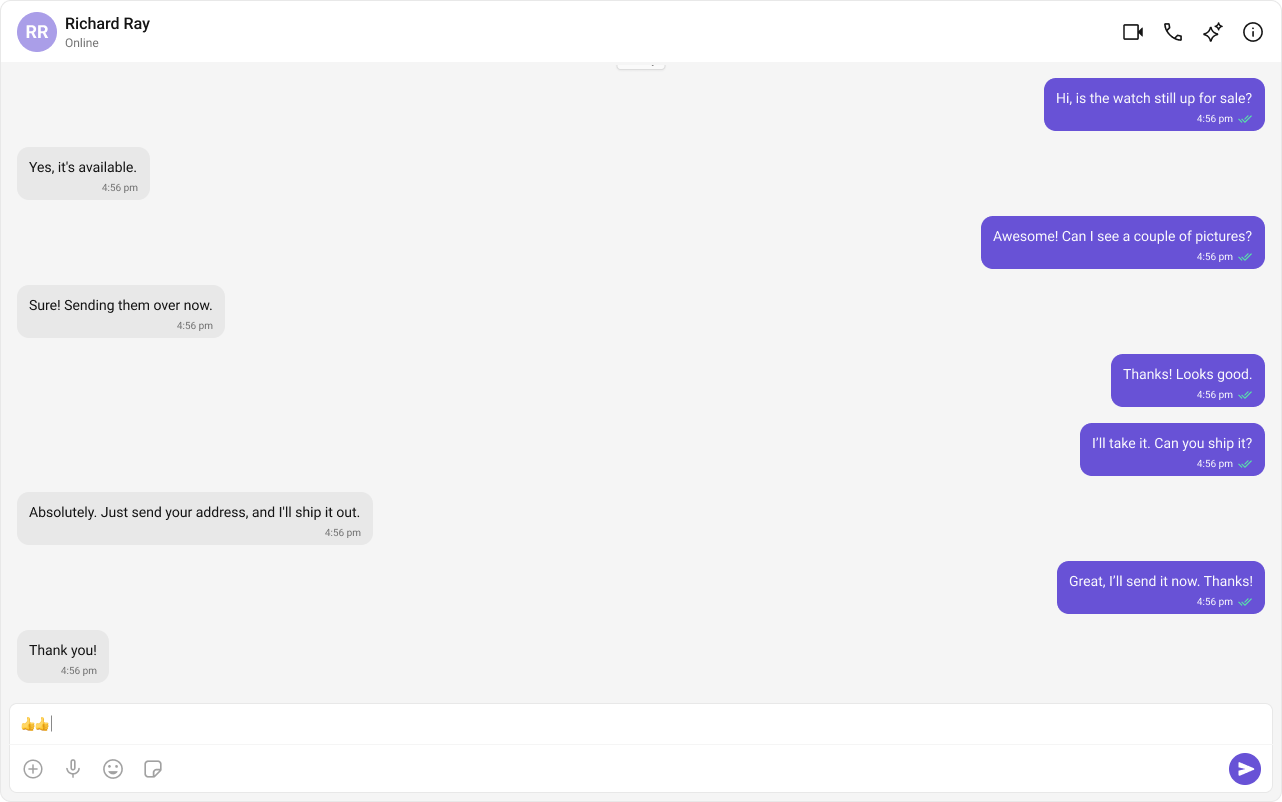
2️⃣ One-to-One/Group Chat
Best for: Focused, full-screen messaging without a sidebar. Features:- Dedicated chat window – pass a UID or GUID to render the chat.
- Optimized for mobile – minimal chrome, maximum space for messages.
- Composer controls – hides automatically if the user is blocked/read-only.
3️⃣ Tab-Based Chat Experience
Best for: Apps that need quick navigation between Chats, Calls, Users, and Groups. Features:- Bottom tabs + stack – tabs for lists, stack screen for messages.
- Contextual lists – conversations, call logs, users, or groups per tab.
- Mobile-first – header back button returns to tabs; supports hardware back handling.
