The One-to-One Chat view focuses on a single conversation—perfect for support flows, dating apps, and private messaging. You can pass either a user UID (one-to-one) or a group GUID (group chat) to render a dedicated chat window. Getting Started covers initialization and login; this guide shows the chat screen itself.

User Interface Preview

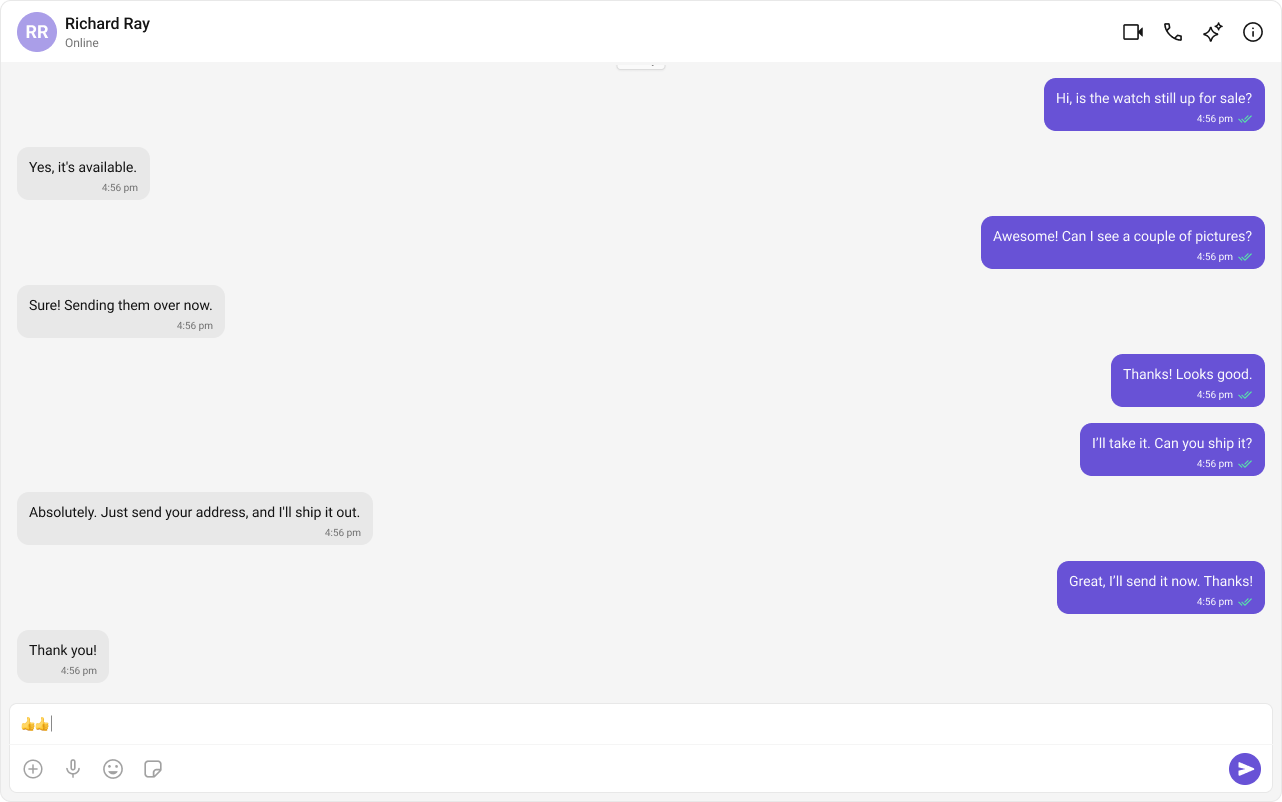
  1. Chat Header – recipient details and optional actions.
  2. Message List – live history for the user or group.
  3. Message Composer – send text, media, and reactions.

Step-by-Step Guide

Step 1: Add the Chat Header

Show profile details and optional actions like calls or info.
<CometChatMessageHeader user={user} group={group} onBack={onBack} showBackButton={!!onBack} />

Step 2: Render the Message List

Stream chat history and real-time messages for the selected user or group.
<CometChatMessageList user={user} group={group} />

Step 3: Include the Composer

Send text, media, and reactions. The composer hides automatically when blocked/read-only.
<CometChatMessageComposer user={user} group={group} />

Implementation

Fetch the user (or group) and render Header + Message List + Composer. The composer hides automatically when a user is blocked or read-only.
// src/ChatScreenView.tsx
import React, { useEffect, useState } from "react";
import { ActivityIndicator, View, StyleSheet } from "react-native";
import {
  CometChatMessageHeader,
  CometChatMessageList,
  CometChatMessageComposer,
} from "@cometchat/chat-uikit-react-native";
import { CometChat } from "@cometchat/chat-sdk-react-native";

type Props = {
  uid?: string;   // one-to-one chat
  guid?: string;  // group chat
  onBack?: () => void;
};

export const ChatScreen: React.FC<Props> = ({ uid, guid, onBack }) => {
  const [user, setUser] = useState<CometChat.User>();
  const [group, setGroup] = useState<CometChat.Group>();
  const [loading, setLoading] = useState(true);

  useEffect(() => {
    let isMounted = true;

    const load = async () => {
      try {
        if (uid) {
          const fetched = await CometChat.getUser(uid);
          if (isMounted) setUser(fetched);
        } else if (guid) {
          const fetched = await CometChat.getGroup(guid);
          if (isMounted) setGroup(fetched);
        }
      } catch (e) {
        console.warn("[ChatScreen] Unable to fetch entity", e);
      } finally {
        if (isMounted) setLoading(false);
      }
    };

    load();
    return () => {
      isMounted = false;
    };
  }, [uid, guid]);

  if (loading) {
    return (
      <View style={styles.loader}>
        <ActivityIndicator />
      </View>
    );
  }

  return (
    <View style={styles.root}>
      <CometChatMessageHeader user={user} group={group} onBack={onBack} showBackButton={!!onBack} />
      <CometChatMessageList user={user} group={group} />
      <CometChatMessageComposer user={user} group={group} />
    </View>
  );
};

const styles = StyleSheet.create({
  root: { flex: 1 },
  loader: { flex: 1, alignItems: "center", justifyContent: "center" },
});
Use it after login, for example: <ChatScreen uid="cometchat-uid-1" onBack={() => navigation.goBack()} />.

Run the app

npm run android
npm run ios

Tips

  • Pass uid for one-to-one or guid for group chat; only one should be set at a time.
  • Add calling by installing @cometchat/calls-sdk-react-native and enabling call buttons in the header.
  • Wrap the screen in your navigator to handle back navigation (e.g., React Navigation Stack).